|
A friend of mine asked if I could assist in hanging two pots on her balcony which sounded like a simple task but it turned out to be more complicated than I expected. The photo below shows the end result but there is more to the story. The balcony is in a new complex of units so there is a lot of concrete. The wall behind is indeed concrete with a rendered finish but the feature the pots are hanging from is not. The concrete wall could have easily gone straight up to the ceiling but this feature was added to cover something. The first question was why was it built this way? It was suspected as being a wooden frame with plasterboard but what was behind it, was it safe to drill into, and would it support the weight?  Tapping on the feature revealed it was hollow rather than solid so a hollow wall anchor could possibly be used. Looking at the end of the balcony I saw a small PVC drain pipe disappearing behind the feature. I suspect it is a drain pipe for an air-conditioner on an upper level of the building. Confident there were no electrical cables behind I started to drill a small pilot hole in the position the first pot was to go. Tapping on the feature I could hear the solid edge and the hollow middle into which I thought I was drilling. The external cladding was thicker than expected but instead of then finding hollow space, solid timber was encountered. I discovered the timber frame was made from larger wood than expected, and is perhaps standard building structural pine, although this is clearly not a structural feature. I was confident I would not hit the PVC pipe and kept drilling as deep as the drill would go and encountered only wood. This was a good thing as the solid timber frame would easily hold the weight of the hanging pots, but the hooks I had were for hollow walls. At this point I considered going back to the store to get hooks to screw into wood but arrived at a different solution.
The end result was very pleasing and I must say very solid, even though I technically used the wrong type of fixing. I can tell that if a very heavy weight was applied to either hook, the hook would bend rather than pull out of the wood, or distort the wooden frame and feature on the balcony.
0 Comments
Another one of those annoying little faults you get around the home from time to time, this time involving the garage door. The garage door has worked very well since we moved in, but every now and then a metal grinding/scraping sound was heard when the door was put up. Strangely no sound was heard when the door was put down. It was very hard to identify exactly where the noise was coming from, and what was rubbing to make the noise. After several days of carefully trying to listen to where the noise was coming from I discovered the noise would disappear for a few days if the garage door was slid to the left (there is a bit of left-right play in the tracks and wheels), then the noise would return again, same as before. I discovered that it was the door rubbing on the wheel where the lifting cable is on the right hand side. There did not appear to be any adjustment that could be made to fix the problem, except to have the door rise and fall slightly left of where it normally ran which meant the door would miss the offending wheel. I purchased two of the smallest hose-clamps available and secured them to the shaft as shown in the adjacent image. This kept the door over to the left of the running track, and avoided any more rubbing on the wheel. Another simple solution costing about $3.00 As a footnote - I recently had a serviceman attend to service the roller door and showed him what I had done. His reply was 'perfect - exactly what I would have done'.  Not a very interesting job, but just one of those things you find you have to do when you buy a new house. There's always something which needs a bit of attention to make it just right. This little problem stems from a neighbouring tree, which seems to drop leaves throughout the year, and also the occasional dead branch. It's close to the back of our house so we have a continual supply of leaves out the back, and also in the gutter. It doesn't take long to fill the gutter and impede the water flow. I purchased some gutter guard from Bunnings and made some extra supports from strips of aluminium. With the support strips cut to length and fitted in place, the gutter guard was added. The gutter guard sits nice and flat so there is plenty of space below for the water to run to the down pipe, and when the leaves are dry the wind will blow them away.  Above: Gutter guard in place with extra aluminium support strips.
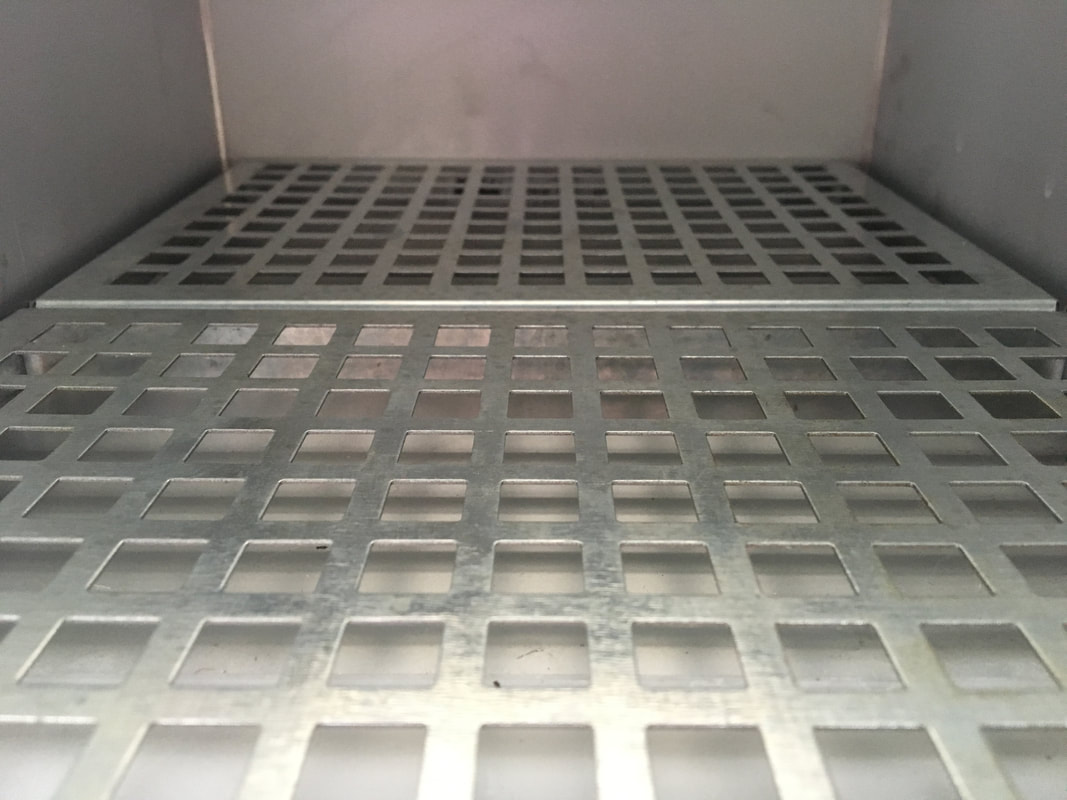
A few months ago we moved into a new home, and when I say 'new' I mean brand new. It wasn't built for us specifically, but we attended the first Open House inspection and made an offer on it the same day. The following day we signed the contract and a couple of months later we moved in. The style, design, fittings and finish are very much to our liking and in fact it is quite similar to what we had planned to build if we had gone down that path. One little problem encountered was with the letter box and mail getting wet when it rained. Despite being a brand new letter box, recessed into the block wall, water still managed to get in there and sit at the bottom, along with any letters, causing them to get soaked. I have not been able to ascertain where the water is getting in but I was determined not to have wet mail. Bunnings came to the rescue as while I was walking around there I discovered the galvanised metal grates as shown below. I don't recall what they were supposed to be used for but when I saw them I realised they would be perfect to provide a 'false floor' in the mail box allowing any letters to sit safely above any water which seeps through to the bottom. All I needed to do was bend the side tabs in a little to make them fit, and fit they did - perfectly. No more water soaked letters when it rains - a simple solution.
 Mail delivered and sitting on the metal grates, above any water that may seep in and collect at the bottom.
 This job started off with a mystery to solve...
The house had been lifted and built in underneath, then extended at the back. A Granny flat was added and this too was lifted and built in underneath. A small business operated from here, there were students renting, and home schooling - so there have been a lot of phone cables provided over the years. I purchased a specialised tool (shown above) which helped significantly in that regard, and once the layout and location of the cables was found it was relatively simple to re-arrange the phone ADSL2+ and phone service to a more central location in the house. The customer has reported better wireless coverage throughout the house. Nothing to do with telephones, but a nice little handyman job... I've always known we had possums in our area, but when they decided to move into the ceiling space between out lower and upper floors I knew I had to take action. After locating where they were getting in and out I measured up the gaps and purchased some timber to fill the gaps. Three differently shaped pieces were needed to fill in around the gaps under the floor joists. The first two were fitted during the afternoon and the last gap was left open so the possums could get out that night. I got up extra early (3am) and put the last piece in place while the possums were still out. When they came home just before dawn they were confused that the entrance to their (our) home had been closed off - they eventually left. Over the next coupe of days they returned to try and get back in but couldn't. I don't know where the possums live now - but it isn't as un-invited guests in our house.
|
AuthorAfter spending 22 years in the Telecommunications Industry, I've decided to keep those skills alive and offer my services to people needing assistance with small phone cabling jobs in the home or office. Archives
January 2024
Categories
All
|


 RSS Feed
